Automated Cat Laser
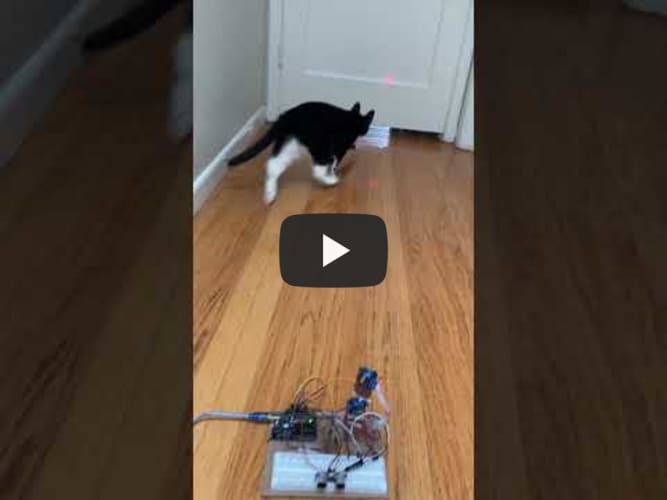
Provide your cat hours of fun using my project, the Auto Cat Laser! It was built using an Arduino Uno R3, two SG90 9g Micro Servos, a solderless breadboard, and an HC-SR04 Ultrasonic Sensor. My modified code allows it to turn on when the sensor detects an object within an assigned vicinity, and for the servos to stop operating if there are no objects detected nearby.
| Engineer | School | Area of Interest | Grade |
|---|---|---|---|
| Maya Wang | Lowell High School | Mechanical Engineering, Computer Science | Rising Junior |

Introduction
Hey there! My name is Maya and I’m a rising junior with a passion for engineering - I’m a part of my school’s FRC robotics team and love to build LEGOs in my (somewhat limited) free time. I have an adorable tuxedo cat named Kit Kat, and she is actually the reason why I chose the auto cat laser as my project. Building the auto cat laser would be a good way for me to learn the engineering design process and how to use various electronics but also, if I successfully complete this project, my cat would be able to use it every day if she wanted to! When I’m not busy with homework or doing robotics-related activities, I enjoy reading, playing tennis, and watching various TV shows.
Reflection

I had a great time at Bluestamp this summer and am so happy I signed up! At first, I was very intimidated by all the foreign parts in my kit and the fact several students in my session seemed much more experienced than me. I was initially very nervous and didn’t know how to start my project, but after I did, I didn’t want to stop! My favorite part of Bluestamp was definitely reaching a milestone or goal, whether it was big or not, after lots of hard work and troubleshooting (and some frustration). This project has definitely sparked my interest in electrical engineering and has only fueled my interest in mechanical engineering and computer science. I learned so much during my time with Bluestamp, especially how to use different types of electronics, how to code in C++, and the importance of being willing to fail but learning from your mistakes. In addition, not being afraid to ask for help (but attempting to solve the problem yourself first) is very important as well. I would definitely recommend the program to anyone interested!
Final Milestone
For my final milestone, I added some personal modifications to my project! The HC-SR04 Ultrasonic Sensor detects if there is an object (i.e. my hand) within 20cm of it through pulses, and if there is, it will tell the Arduino Uno to run the servos’ code. I spent a day just researching what an ultrasonic sensor was and how to use it with an Arduino; after I felt confident enough, I decided to connect it to the Arduino Uno on my project and test it out using instructions and code from this website. One challenge I ran into after I uploaded and ran the code was that the sensor constantly displayed “Out of range” on the serial monitor despite the fact I held my hand out directly in front of the sensor. I looked over my code a few times and discovered no errors, which led me to believe my issue was in the wiring. Sure enough, I discovered that the VCC connector wire had to be plugged into the 5V pin on the Arduino in order for the sensor to work, which caused another problem for me because one of the laser diode’s connector wires was already in that spot. After a few trial-and-error tests, I solved the issue by inserting the laser diode’s connector wire into a positive hole on the breadboard. Another challenge I encountered was trying to combine and integrate the sensor’s code into the cat laser’s code. I do have some experience with a few programming languages which is why I was able to read the code, but I had never written any C++ code out by hand; therefore, I was initially very confused and lost. I knew I had to use an “if” statement, I just didn’t know how to write it out. I attempted to write out the code after some research, but when I tried to verify it, I received a lot of error messages. I researched C++’s syntax but got a lot of complicated explanations in return, so I asked my instructor to help me debug the code. While doing this, I learned that formatting the code’s syntax correctly is very important in order to reduce confusion when troubleshooting and you cannot add a “void” statement inside of another “void” statement. In addition, I learned I didn’t have to overcomplicate things - what I thought would be a fancy syntax turned out to be just a few lines of simple code.
I also made the laser able to turn on and off using instructions and code from this similar project. When I plug the Arduino into a power source, the laser will be off, but as soon as the sensor detects motion in its assigned range, it will turn on. When the sensor detects motion outside said range, it will stop the servos, but the laser will remain on. Wiring up the Arduino wasn’t hard, but integrating this code with the servo’s as well as the sensor’s was challenging for me. For example, sometimes the sensor would detect an object ~95cm away, but the laser would still turn on and the servos would start moving. Other times, the sensor would work correctly but the laser would refuse to turn on. I went over the code with my instructor and realized I had made a few mistakes in the syntax and some lines of code were not in the right spots. After troubleshooting for a while, I got the code to work, meaning my customized cat laser was now completely finished!


Second Milestone
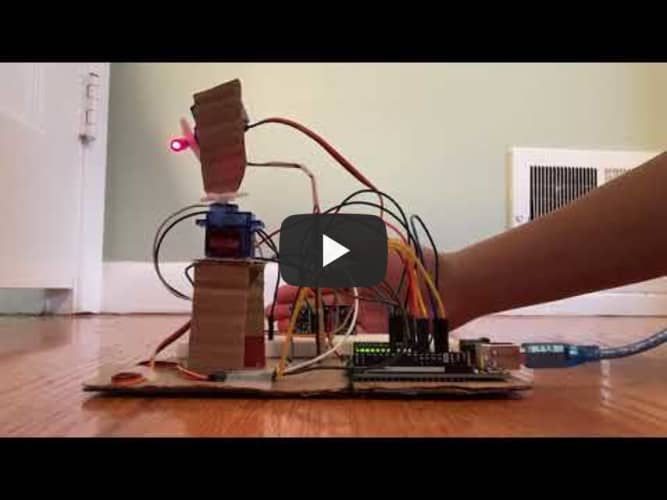
My second milestone was designing and building the servo tilt/pan. I didn’t have any spare metal pieces in my house or in my project kit, so I decided to just use cardboard, zipties, and a hot glue gun. I spent a day or two just brainstorming and sketching (and sometimes trashing) design ideas. I came up with the design shown below after drawing some inspiration from this design and using it as a reference. After finalizing the design, I began to measure and cut the cardboard I had to make the parts. Sticking the breadboard on the cardboard base wasn’t too hard; I simply peeled off the adhesive protective paper on its backside and placed it on its assigned area on the board. However, the Arduino Uno definitely gave me a bit of trouble.

The first challenge I encountered while assembling was that the zipties provided in my project kit were too big to fit through the pre-drilled holes in the Arduino Uno. I looked around my house for string, but I only managed to find one spool of yarn that was also too thick to fit through the Arduino holes. After a while, I found a black rubber band hanging on my desktop lamp and decided to give it a try. I cut it into smaller pieces so it would secure the Arduino and thankfully, it easily fit through the hole! Unfortunately, the next challenge I encountered was getting said rubber band to stay in place, because standard office tape wasn’t strong enough to hold it down. To solve this, I used packaging tape instead and added multiple layers of it. Afterwards, I used a hot glue gun to fasten the horizontal servo holder to the base and to glue the vertical servo holder onto the horizontal servo. I used double sided tape to secure both servos to their respective holders. Once that was finished, I cut off some excess cardboard from the base and taped the laser onto the vertical servo. I initially wanted to attach the laser to the servo using zipties, but when I tried to do so, the zipties would not tighten enough to secure the laser and the laser would just slide out of the ziptie. Another challenge I faced was getting the laser to shine all the time while the Arduino was powered up, because the laser diode was very sensitive and only worked at certain angles. I used more office tape to ensure all the laser’s wires were in a straight line, and angled it in different directions. After experimenting and doing some trial-and-error, I discovered that the laser worked if you held its connector wires straight up. Therefore, I cut some cardboard and quickly made a holder so I wouldn’t have to hold the connector wires up myself all the time. I hot glued it to the base, taped the laser’s connector wires to it, and powered up the Arduino again - it worked, and the laser shone no matter which way it was angled!
I did a few test runs (using my cat as an unknowing test subject) and realized I had to make a few changes to my code. Firstly, I had to increase the randomized wait time to 30 and 45 seconds because it originally was too quick and my cat was not able to follow the laser. Secondly, I increased the vertical range to 55 degrees so my cat would have the opportunity to run around more. I also chopped some cardboard off the top of the vertical servo holder because it was too tall for both my cat’s and my own liking.
I am now done with my project! For my third milestone, I am planning to add some personal modifications to the cat laser (including a sensor!) and overall just make sure everything works for Demo Day.
First Milestone
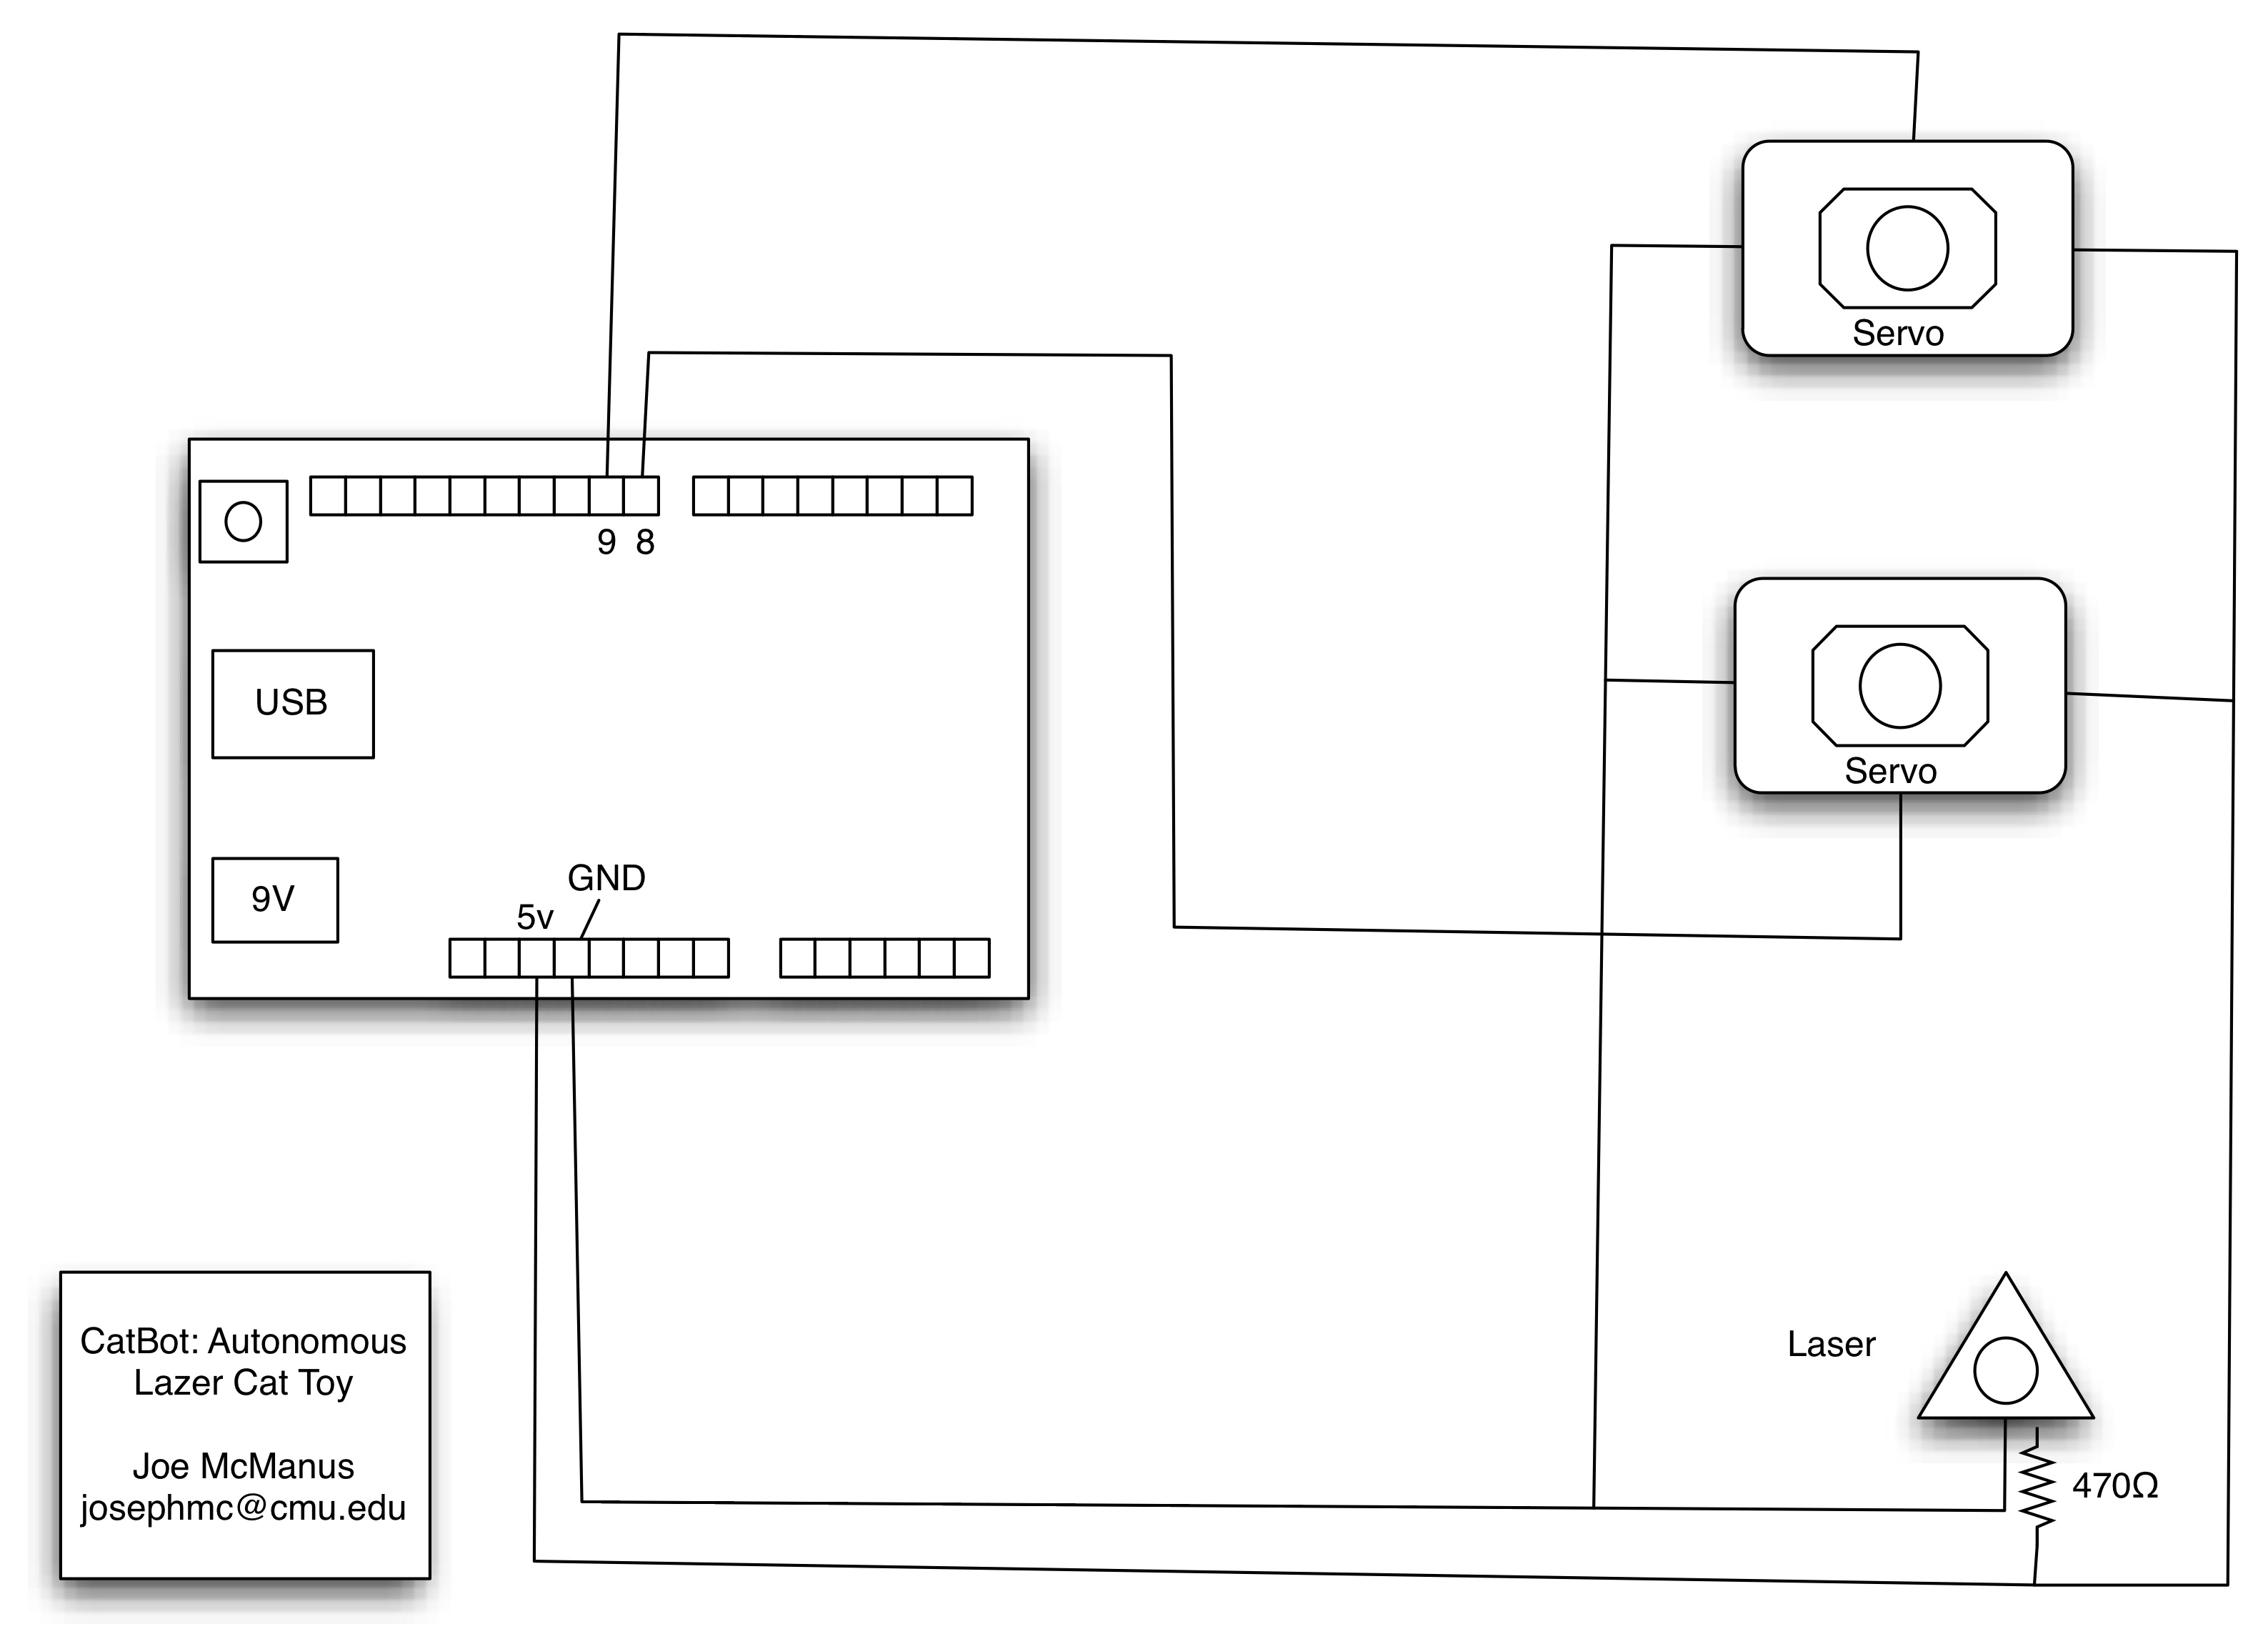
My first milestone was comprised of three objectives: getting the laser to shine, wiring the Arduino, and coding the micro servos. It sounds simple, but it was actually very challenging for me as I had no experience with electronics prior to Bluestamp Engineering. I spent most of the first 3 days of camp researching all the different parts in my kit and figuring out what they did. Eventually, I concluded I could get my laser diode to shine using the Arduino Uno and several connector wires. Getting the laser to light up wasn’t too hard, and after I did, I decided it was time to wire up everything else. I used this schematic as a reference.
My first challenge was being able to understand the schematic itself! There seemed to be so many wires coming out of the Arduino, servos, and laser, and I was initially very overwhelmed and confused. After analyzing the diagram for a while and playing around with the connector wires, I was able to wire the parts that directly connected to the Arduino pins. I didn’t understand how to wire parts that did not directly connect to the Arduino (for example, wiring a servo and the laser together) because I was unable to solder and didn’t have a soldering kit anyways. I asked my instructor and learned I had to use a solderless breadboard, another part in my project kit I was unfamiliar with. However, after watching even more YouTube videos, staring at the schematic, and some trial-and-error, I was able to understand how to simultaneously use a breadboard and Arduino. Wiring the Arduino felt so much less stressful after that and more fun!
Now I could move on to the coding portion of this milestone. After researching what Arduino IDE was for a bit and how to use it with an Arduino Uno, I installed Arduino IDE on my laptop, imported this code for the servos, and then uploaded it onto my Arduino. The first thing I noticed when I ran the code was that one of my servos was moving, but the other one was not. I double and triple checked the code I imported and the connector wires, but both seemed to have no errors to me. However, it turns out I had wired the servos (very) incorrectly, and I had to rearrange a lot of connector wires on the breadboard. I followed the schematic shown below to rewire the breadboard, and learned that certain colored wires on the servos had to go in specific spots on the breadboard. Furthermore, I learned that part of the reason the servo was not moving was because I plugged a wire into a pin without the ‘~’ symbol, which meant the servo was unable to receive power.

After I made all these corrections, I plugged the Arduino Uno into my laptop and reuploaded the code that I had modified just a bit. Sure enough, both servos were now moving and the laser was shining bright as ever. I plan to modify the code for my third milestone so I can include a motion sensor in this project, but for now, I’m going to move on and work on the mechanical design of the cat laser.